
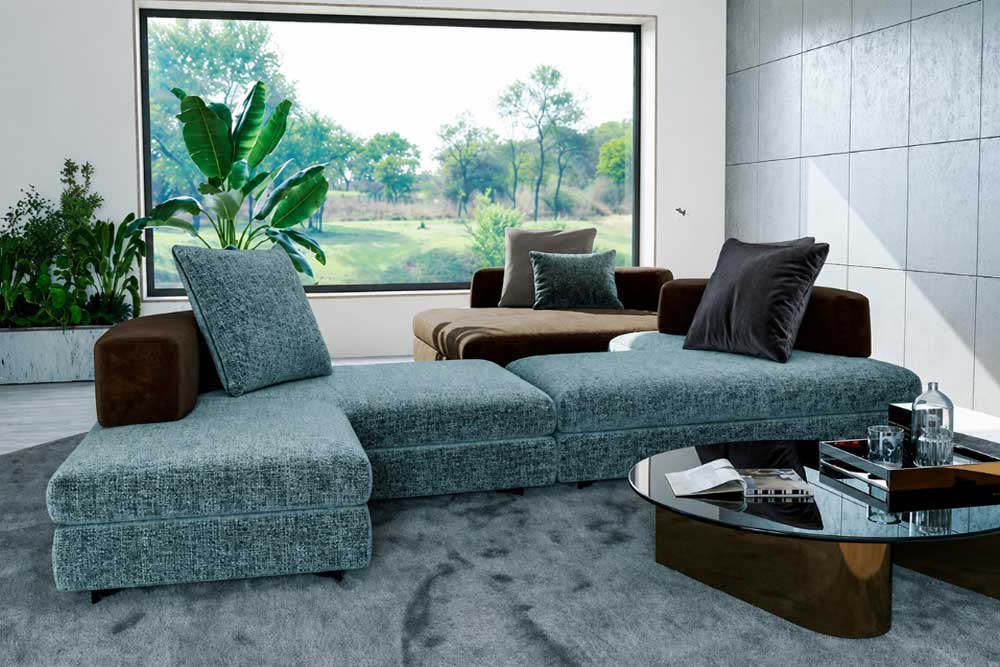
Chaise Lounges: A Stylish Addition to Every Living Space
A well-designed living space is more than just a place to sit. It is an area where people relax, entertain guests, read a book, or simply unwind after a busy…
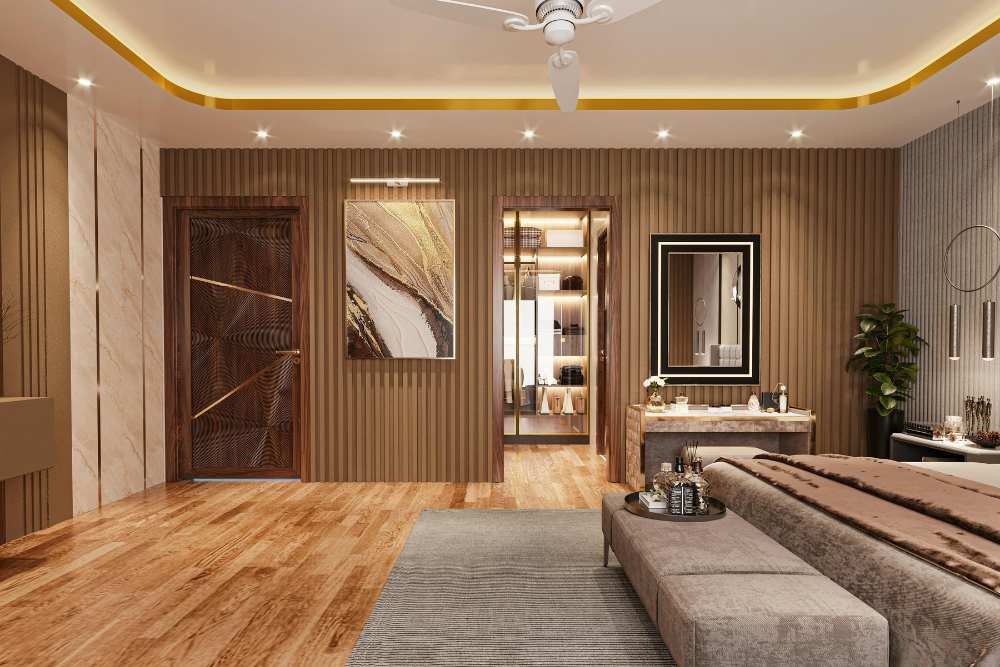
Interior Design Services in Surat: How to Find the Right Expert Near You
When you search for interior designer near me or interior designer in Surat, you’re looking for more than just someone to decorate your space. You need a professional who understands…
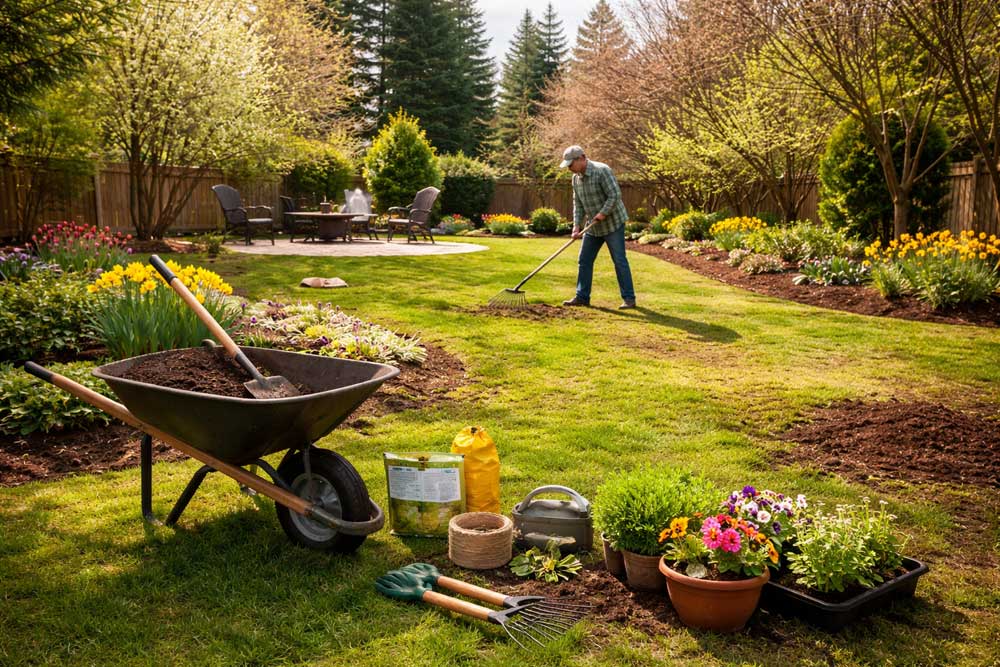
How to Revive Your Lawn and Garden After a Long Canadian Winter
Winter in Canada is hard on outdoor spaces. By the time the snow finally melts, most lawns and gardens look like they’ve been through a war — and in a…
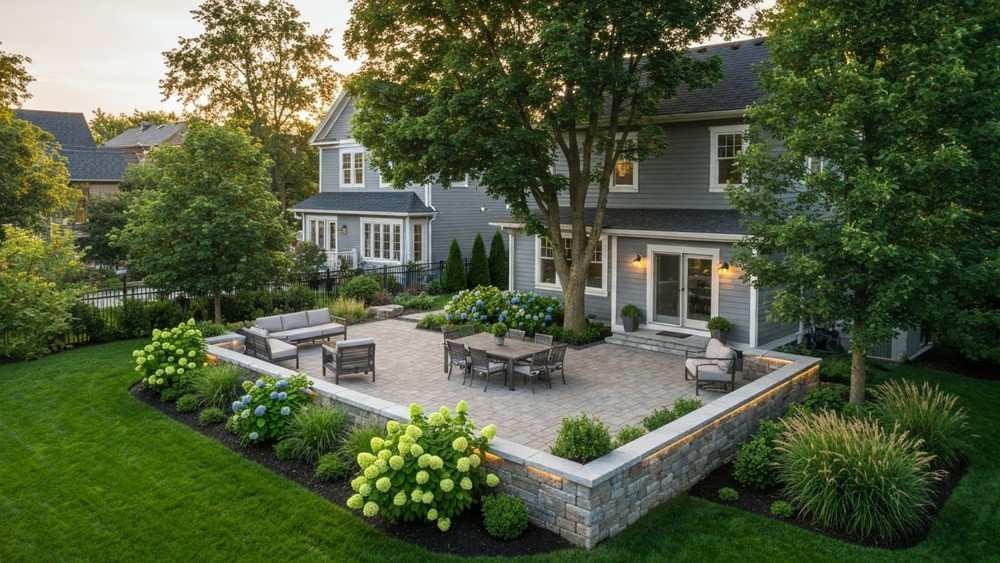
Outdoor Living Space Design for Small Properties
Small yards get a bad reputation. People look at their 20-by-30-foot backyard and immediately start listing what they can’t do. Can’t fit a pool. Can’t have a proper patio and…
Pest Control Beyond the Seasons: A Smarter Year-Round Approach
It’s easy to think of pests as seasonal problems, but in reality, they respond more to their environment than to the time of year. While seasonal trends can offer general…
Early Signs of Flooding: The Hidden Paths Water Takes
Flood damage is often associated with dramatic events like severe storms or plumbing failures. In many cases, though, water intrusion begins in subtle and unexpected ways. Small gaps around roof…
How to Clean Your Vacuum Cleaner for Better Performance
Your vacuum spends its days swallowing dirt, dust, and the odd bit of fluff you’d rather not think too hard about. Unsurprisingly, all that gunk takes a toll on its…
How to Choose the Best Artificial Grass for Your Melbourne Property
Have you ever wondered why your neighbour’s lawn looks perfect year-round whilst yours struggles through Melbourne’s unpredictable weather? Are you tired of spending weekends mowing, watering, and battling brown patches?…
Creating a Family-Ready Bathroom That Blends Function and Style
Designing a bathroom for a family means making space work for everyone—from toddlers splashing in the tub to parents racing through morning routines. A thoughtful layout and smart feature choices…
What to Look for in a Reliable Commercial Builder in Sydney
Sydney, with its iconic skyline and booming economy, is a hotbed for commercial development. From sleek new office towers and bustling retail spaces to innovative industrial complexes, the city is…